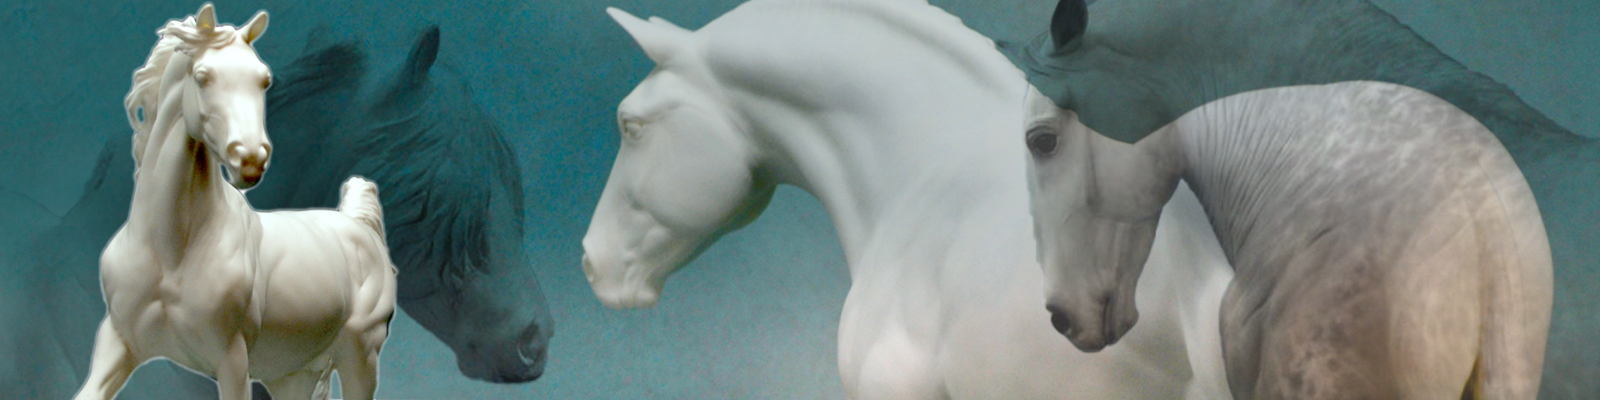
Here’s an interesting project I started last week. I received a bone china “Heart of Darkness” Oldenburg sculpture from casting in England, which had a flaw that showed up in the kiln. The hindquarter on the right side was pushed in. The cast is otherwise perfect and it would be a shame to just discard it! The photo below shows a perfect one on the left and the flawed one on the right:
So, with thanks and support/help from fellow ceramist Paige Patty who is a pro at this sort of thing, I am attempting a fired-clay type of repair. Plus I sculpted a new loose mane and forelock on the piece, to make him a one of a kind china! Here’s how he looks right now, while the clay dries and before sanding, touching-up, and detailing:


Then he’ll go in the kiln, and the hope is that the new clay will fuse to the existing china!
Boreas Progress 2
I had a few more sessions on the china Boreas last week. Here is how his other side looks at present:
 I need to deepen the color on the neck and shoulder with another layer. Once I have gone around the entire horse with the air eraser dappling, then I will start detailing and deepening the color and fine-tuning the placement of the dapples (or even eliminating some of it in areas). This one is going to have a black mane and tail, and 4 white legs. The contrast of the black mane/tail will be really striking I think and will bring up the bay coloring in the coat.
Glazing the Boreas Sculpture
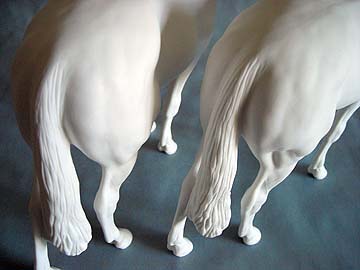
Last week I finished the dapple grey “Halfling” (5″ tall) Boreas bone china for client Marilou Mol of Illiniois, and here are 2 photos:

 On to the next!
This week I’m glazing one of my “large” Boreas Percheron sculptures in bone china. It will be a dark dappled grey with rose coloring in the coat, (or bay going grey).
The first thing I did was to paint some bay-colored dappling across the back and sides, with the airbrush, and fired it:

Most of this will be covered up in subsequent overglaze layers, but I wanted this subtle texture to be underneath everything. The overglaze paints I use are nicely translucent so this can be used to produce all sorts of depth and subtle details in the coat.
Next, I applied a “dry” coat of overglaze—bay color and then black over that—to one side. By dry, I mean that the glaze is mixed with an airbrushing medium that dries immediately on the china to a powder. Usually, I airbrush china paints with a wet medium that never dries; the horse goes in the kiln wet. But to get the dappling effect I want in this dark horse, I have to use an air-eraser and remove paint where I want dappling to be. This is because we don’t have any opaque white paints in glazes that can be airbrushed on top of dark colors. So anything white on this horse, is the white of the bone china coming through. The air-eraser works exactly like a double-action airbrush, but instead of paint it blows air and baby powder and this removes paint! (In more or less the same way a sand-blaster does.)
These two photos show the layer of powdery glaze applied, and the areas of dappling that I’ve “painted” (removed) using the air eraser, before going in the kiln:


Because I’m not yet sure what color I will want the tail to be, I removed all the paint on that, too. The horse looks kind of uniformly “brown” because of the matte-looking powdery paint, but there is both black and bay shaded into it which will show up when fired.
I can only work one part of the horse at a time because my back and hands get tired (painting with the airbrush and air eraser requires intense fine work) and the danger of making a mistake in the paint or bumping it becomes pronounced. So I will be working around the horse with the paint and air-eraser, and firing after each session. It took about an hour to do the work shown in the 2 photos above.
Teaser photos of the new horse sculpture
I’ve spent a little time on the new horse sculpture. I am creating a new sport horse for myself! The tentative name is “Clarity” but the work will have to live up to my goals for a sculpture with that name, before I give it to him. Here are a couple photos of the clay:


I’ve also been continuing on the buckskin “War Chant” glazing work, and started glazing a couple of other chinas this week. Photos to come in a day or two when I can show progression.
Living my Breyer dream, part… uh, I’ve lost count!
Well, look what came in the mail yesterday. Oh my.
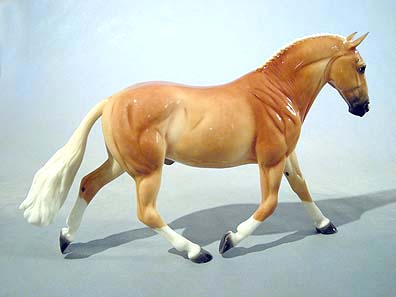
Last June I had the pleasure of a visit to Breyer’s offices in New Jersey, and I painted 5 test colors on the Cleveland Bay mold (that I sculpted). This was my favorite of the group, and I am completely thrilled and grateful that they allowed me to keep him! I am calling him a “Belgian cross sport horse”, heh. Maybe this color and or a few of the others will show up on a CB model in the Breyer line or as a special run!

You must be logged in to post a comment.