I wish that creating ceramics art was nothing but fun and inspiring flourishes of brilliant works all the time. But in reality, once you’ve finished the sculpture, if you want ceramic copies of it there is a very large amount of rather tedious yet exacting, just plain work.
I think of it as the nuts and bolts. I used to pay someone to make my work in ceramic. For a long time I thought I had the best part of the process: I create the sculpture, they hand me my work back as whiteware ceramic, and then I get to do the glazing and finishing.
After I took ownership of all the molds of my older sculptures after Alchemy Ceramics went out of business, I learned that having the molds means ultimate control of your process. There’s great power in being able to make a copy of a sculpture yourself, whenever you want. Instead of putting in an order, and waiting in line for it. It is a lot cheaper since you are doing all the labor, too. (Even if you’re doing it badly when learning, ultimately it is worth it.)
For a sculptor, the final bonus is the extremely tantalizing idea that if you have the piece in unfired greenware, you can CHANGE it. Make it unique out of the regular edition of XX pieces all cast the same. Not only is it great fun (or difficult and frustrating… when you screw up a piece trying to sculpt a new mane or add something) it has allowed my older sculptures to have a bit of new life before the molds wear out. And one-of-a-kinds of the sculpture, not just one-of-a-kind glazed colors, are highly desirable to collectors.
I still have to rely on the talent, knowledge, and craftsmanship of others to make the molds of my work. But I sure have come to know the value of doing my own nuts and bolts work.
Today was a nuts and bolts day; I cast two copies of my Optime Arabian sculpture. Here are a few photos of the process.
 Here is a photo of all my ceramics molds, stored on their shelves in our new house. I hadn’t cast any new work in them since well before we moved last October, and there were a few cobwebs strung between them…!
 Above is a shot of two complete sets of molds for Optime. The two big ones are the main body and neck. All the others are various horse parts attached to the body. There is a separate mold for each leg, the tail has 2 separate parts with molds, and a piece of the mane has a mold.
 Here is my bucket of earthenware slip. It is essentially liquid mud plus some other chemical additives. I am trying to keep the bathroom attached to my studio fairly clean, but it is honestly way too “pretty” to be an art studio’s wet space. Fortunately I can do most of the messy cleanup in the bathtub next to it. But I fear someday when we sell this house, they’ll have to remodel this bath! The only thing I miss about my old house’s studio was the full kitchen with double steel sinks and formica counters.
 Here are the two big body molds, with the liquid slip poured into the holes. After a waiting period, the slip is poured out. What’s left in there is like a shell of clay, coating the inside of the mold. The molds are made of plaster and it sucks water out of the slip. That’s how we get our hollow ceramic pieces.
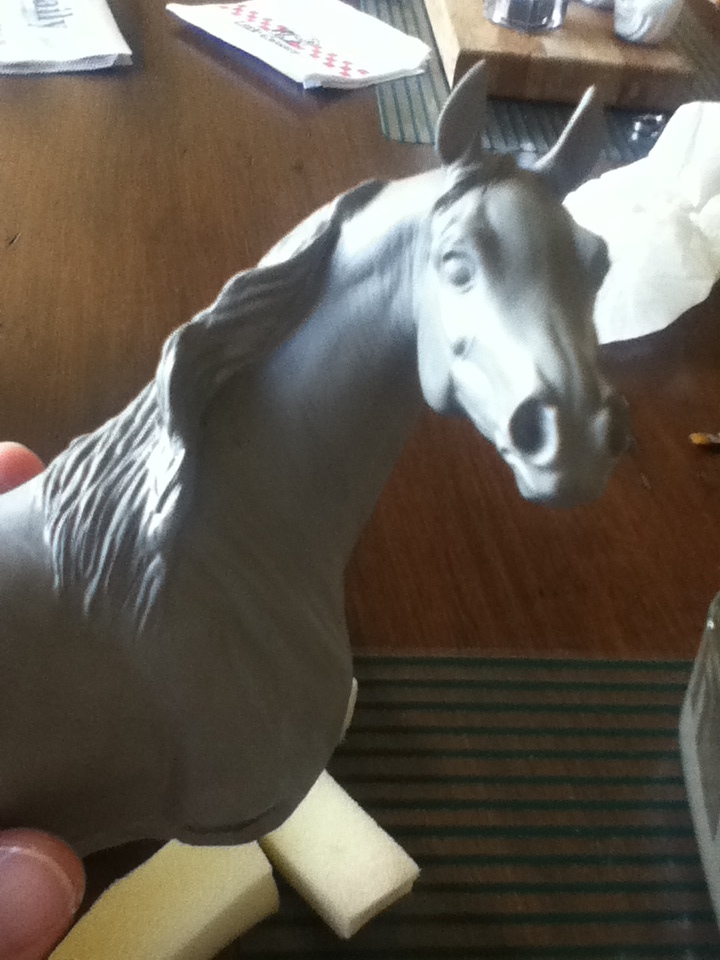
 Next, each mold is carefully taken apart to reveal the cast part. I always get a chuckle out of the Optime head mold. It is so cute the way it comes out complete like this, when the top 3 parts are removed. I also appreciate the way the ears are an intact part of the head. For every other sculpture, each ear has its own mold and I have to stick them on the head!
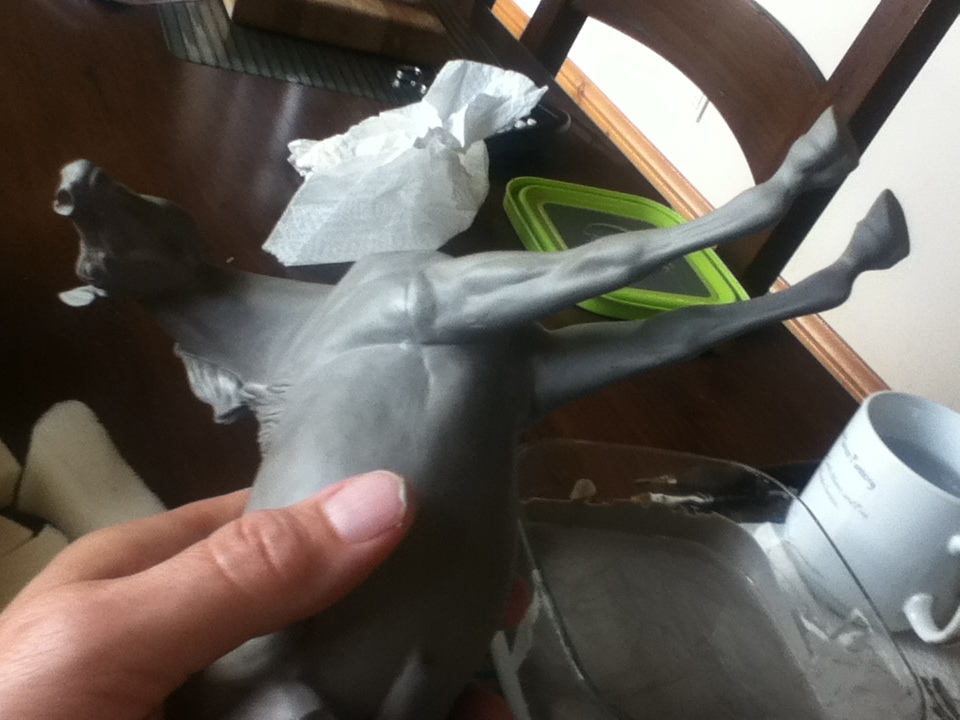
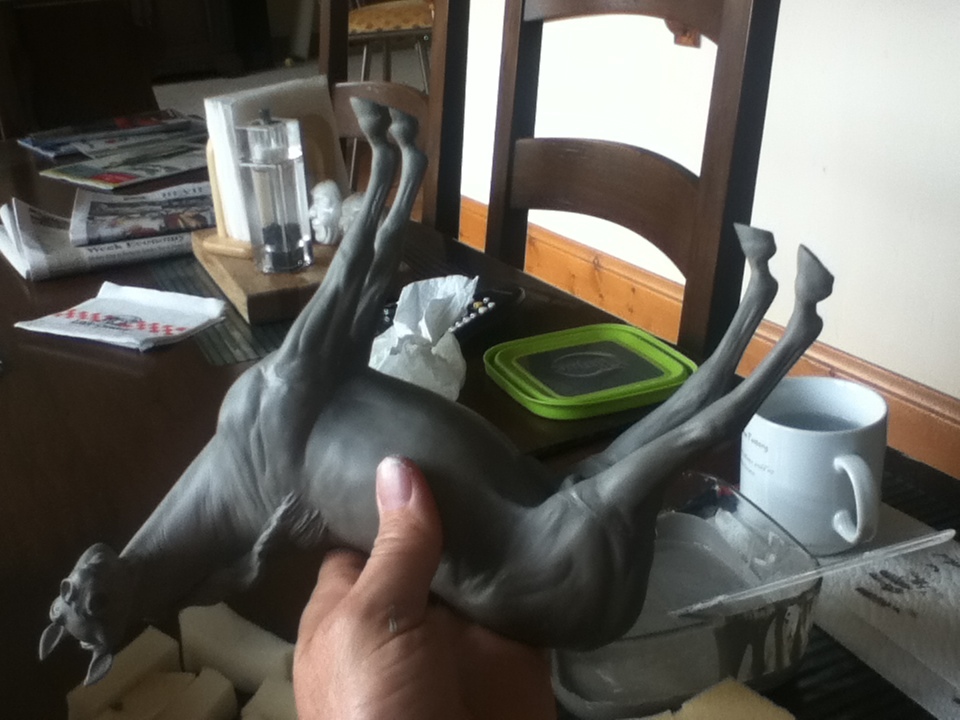
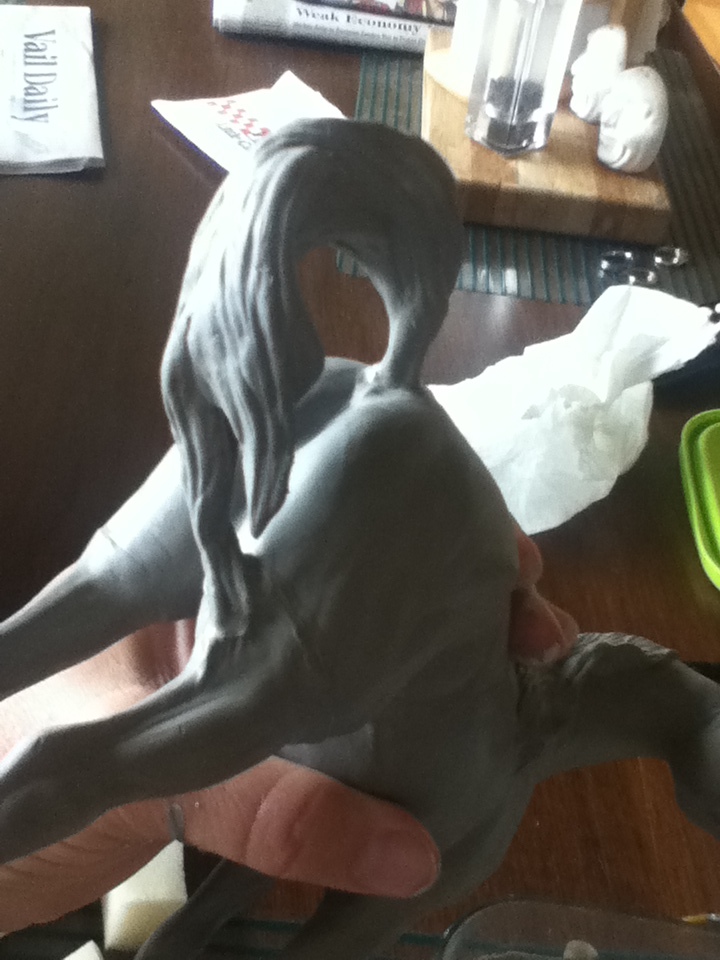
 And here are all the parts successfully pulled from the molds, which in the next day or two will be pieced together to become an Optime earthenware china horse. It will, if I don’t screw up the delicate process of sticking the pieces onto the body. They are very fragile and must remain damp!


You must be logged in to post a comment.